Review of Luminar 4. Artificial intelligence is our savior
There is an alternative to Lightroom. If you have been looking for an alternative to Lightroom for a long time, then I recommend reading my article "Review on Luminar 4".
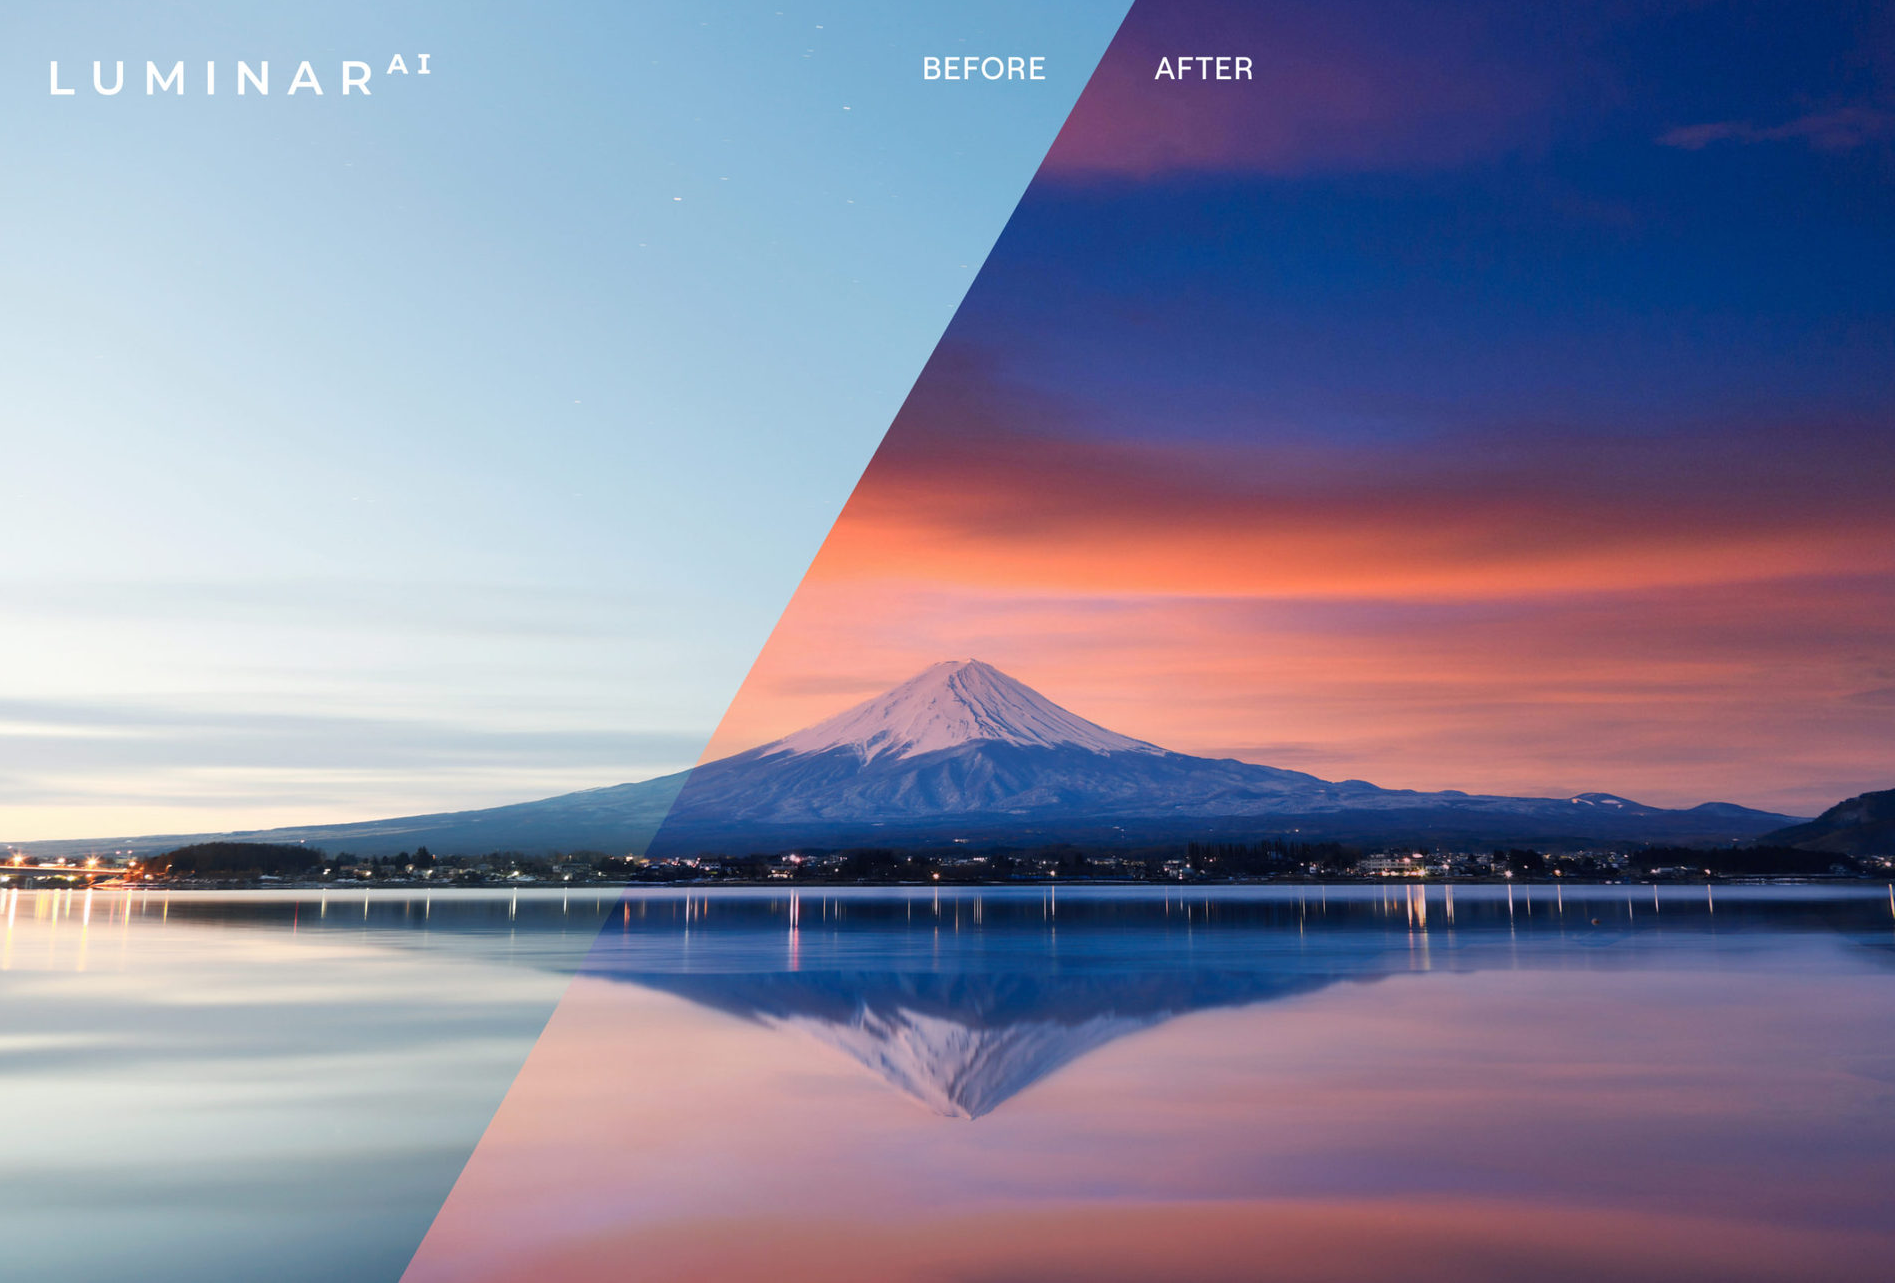
I am pleasantly surprised by the new releases from Skylum, the company that developed the editing program Luminar 4 RAW . Skylum is developing well and provides users with the most innovative editing functions and tools that work on the basis of artificial intelligence (AI) and machine learning.
What is Luminar?
Luminar is a photo editing program that was originally created by Skylum (formerly known as MacPhun) as a RAW editor for Mac only. If after you've taken your photos, you really want your photos to stand out, Luminar is a great tool to easily get the best result. The program attracts the attention of many photographers by the fact that the filter effects and tools in the editor are built on the basis of artificial intelligence. Therefore, photos processed in Luminar will not look like photos taken in Lightroom and Capture One.
Skylum was able to develop a product that provides users with intuitiveness and simplicity when working with photos in Luminar. Therefore, since 2018, Luminar has been a favorite among photo editors in the world, especially for beginners who have just started to immerse themselves in this amazing world of photos.
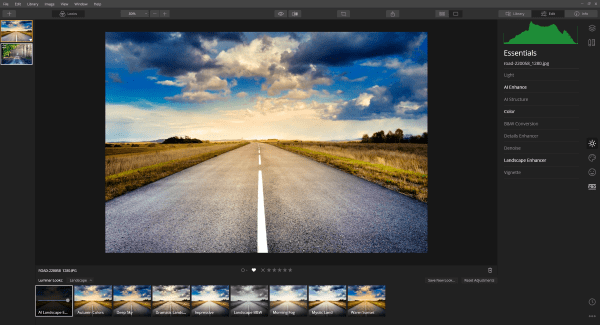
Luminar Library Module
The Library module is a place where you can organize your photos. Now it has become much more convenient to edit photos, manage and organize large photo libraries. All these factors give Luminar great popularity. Now you can classify photos by assigning them asterisks (keyboard shortcut 1-5). You can also add photos to favorites with a heart (keyboard shortcut: P) and delete photos with a cross (keyboard shortcut: X). There are several types of sorting, you can create albums that are a bit like a Lightroom collection. There is also a convenient function for adding keywords to a photo. Which in the future will allow you to search for frames by these keywords.
AI Editing Tools
The phrase "artificial intelligence" has recently become very popular in the software world. Many developers, when creating a photo editing product, try to focus on Artificial Intelligence. But at the moment, the development of Lightroom and Photoshop based on AI is far behind what Luminar offers us. The effectiveness of their tools is questionable and many functions are developing slowly. That's why we love Luminar so much, as they try to keep up with the times.
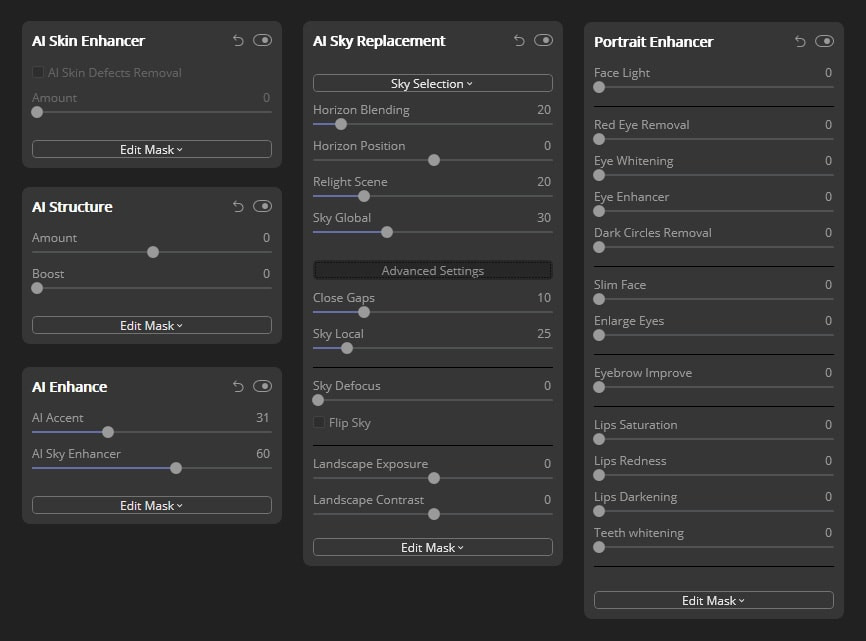
Sky Replacement
The "Sky Replacement" tool realized the desire of many landscape photographers and therefore caused more excitement among the photo community. As we know, the process of replacing the sky in landscape photography can be a complex and time-consuming process, so I was curious to know the effectiveness. I was pleasantly surprised by how well this tool works. If there are any shortcomings when replacing the sky in the photo, then they can be additionally edited manually. But such problems occur extremely rarely. Therefore, you can forget about the rasterization tool, which used to take you a lot of time when processing the sky in Photoshop and other editors. The sky replacement tool can remove artifacts such as halos and sharp edges. It even highlights the entire photo so that the original image matches the new sky. He will even choose the best orientation of the replacement sky so that it looks realistic in combination with the original image.
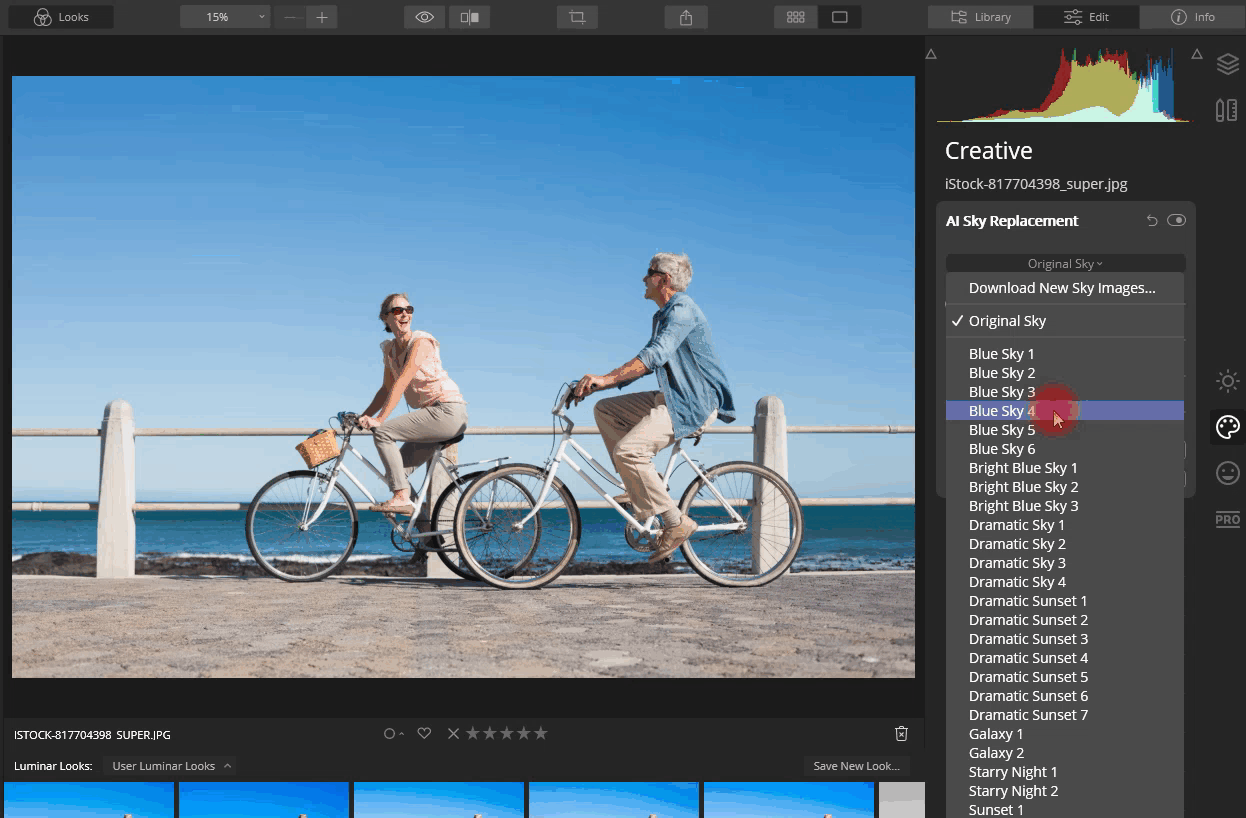
In addition to artificial intelligence-based functions, you also have a set of tools for manually fine-tuning images. In the library you can create your own celestial spaces, or choose ready-made versions of the sky.
AI Accent + AI Sky Enhancer
The AI Accent and AI Sky Enhancer tools are located under the AI Enhance editing panel. I found the combination of these two sliders to be the most useful tools in the entire application. The tool can distinguish landscapes from photos with people and apply different editing algorithms. It is possible that this feature appeared in Luminar from the fully automated Lemur photo editor, which is also offered by Skylum.
I was pleased with the effectiveness of artificial intelligence tools when editing landscape photos . AI Accent, like Sky Replacement, perfectly distinguishes the sky area from the rest of the image and applies various changes to both areas. Perhaps AI Accent uses the same algorithm as the Sky Replacement tool. The tool is good because it does not oversaturate and does not make the sky area too sharp.
If you want to give more expressiveness to the sky in your landscape photo, just go to AI Sky Enhancer.
You can edit most of your landscapes with just these two sliders and finish by adding a little vignetting at the end.
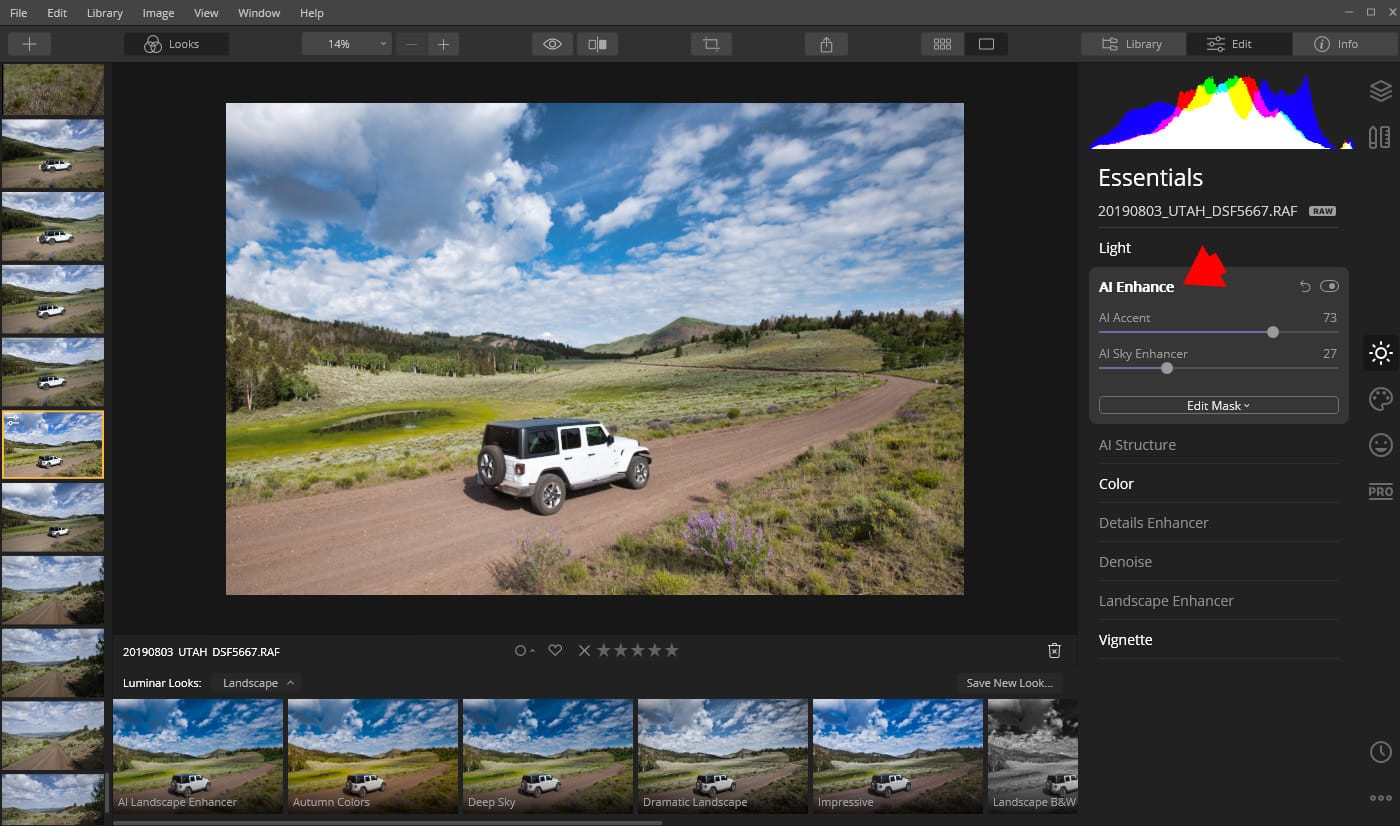
Quick editing with AI enhancement tools is amazing.
The editing workflow ceases to be routine. That's probably why Luminar is popular among beginners and those photographers who don't want to spend a lot of time studying photo editing.
AI Structure
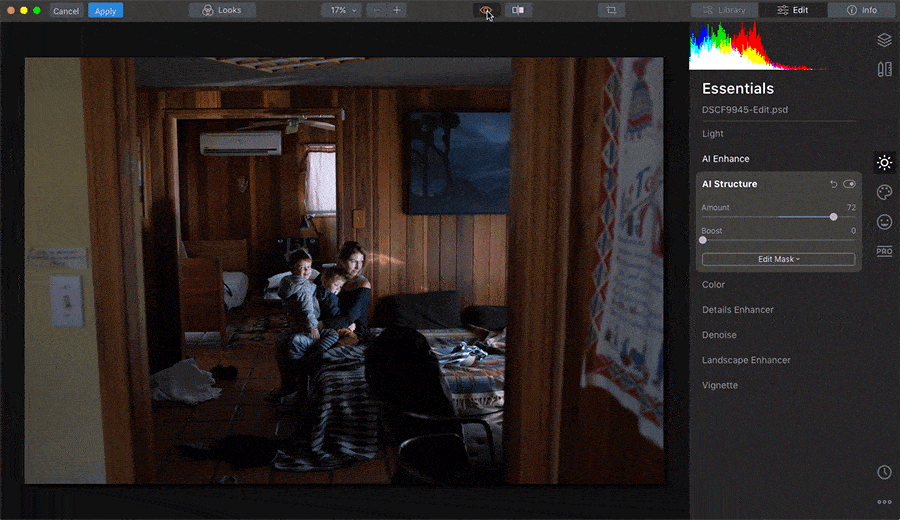
This tool detects areas of the palate and areas of human skin and protects them from excessive sharpness. I assume that the AI Structure tool uses the same algorithms as the rest of the AI-based tools.
AI Skin Enhancer
AI Skin Enhancer is another tool with which, with a single slider, you can significantly enhance portrait photos. The tool accurately detects and smoothes the skin areas. It even has a skin defect removal feature that automatically removes skin defects such as pimples.
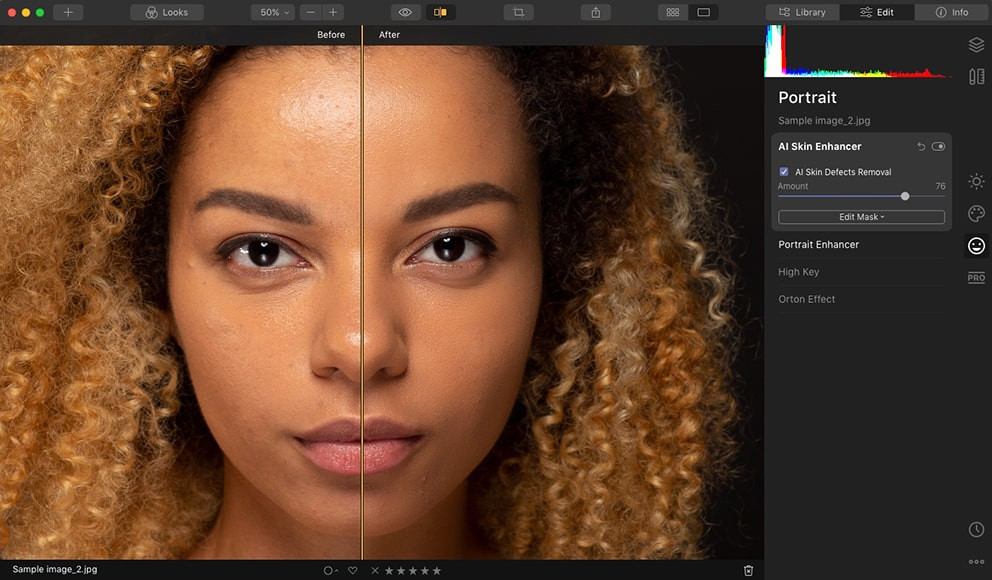
AI Skin Enhancer is very effective, but the Skin Defect Removal tool gives random results. You can easily edit a bunch of family vacation photos in just a few minutes.
Layers
Layers have become a standard feature of almost all RAW editors, with the exception, of course, of Lightroom. Layers make life easier for people like me who do extensive editing of most photos.
What is unique about the Luminor Layer functionality is that you can create both an adjustment layer and an image layer. This means that you can overlay the original photo on another image and blend them together using masking tools and opacity functions.
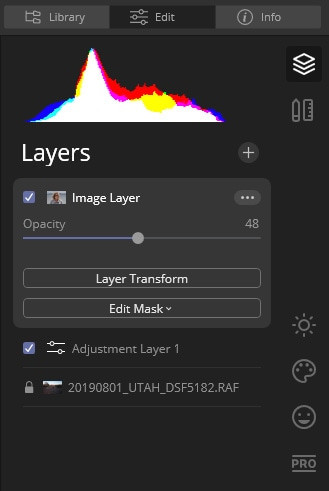
This is where Luminarc enters the realm of Photoshop, blurring the line between RAW photo editors and photo composting programs. I really welcome such versatility.
Masks Everywhere (Masks Everywhere)
It's hard to surprise anyone with the masking functionality in modern RAW editors, but Luminar managed to do just that when they implemented masks with a twist.
In Luminar, you can add transparency masks individually to any editing panel. For example, if you apply sharpening with the Detail enhancement tool to the entire image, you can add a mask only to the Detail enhancement tool panel. This masks an area where sharpening is not required, such as the sky area in landscapes.
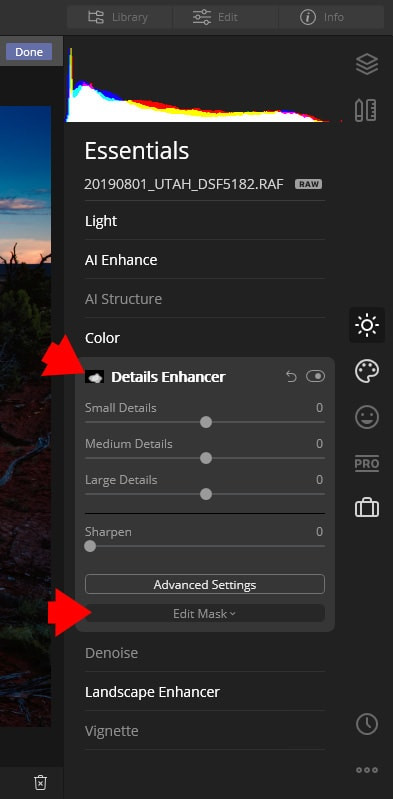
Again, this is Photoshop-like selective editing done in a non-destructive RAW editing environment. Of course, you can also add a transparency mask to the entire layer in the Layer panel.
Special portrait module and tools
Used for portrait retouching. Luminar applies AI skin and portrait enhancement to portrait photography, all you have to do is manually adjust the settings and view the result. In the center of the portrait module is the AI Skin Enhancer. In addition to the artificial intelligence-based tool, you have many opportunities for manual editing.
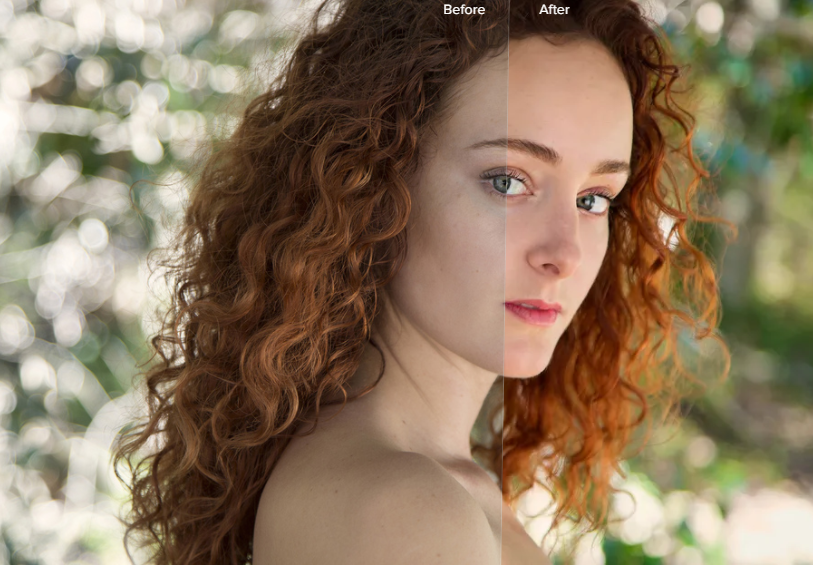
Even manual parameters are controlled by artificial intelligence. You have a special slider for lips, eyebrows, eyes and dark circles. The program defines these areas fairly accurately.
The "High Key" and "Orton Effect" panels complement the set of tools for portrait photography. The Orton effect, which became popular thanks to the Lord of the Rings films, blurs some areas of the image, leaving others in focus, creating an otherworldly effect.
It took me a while to see its appeal, but now I'm a fan of it and find it fun to use a small element of it in some of my landscape works to "soften" any existing edits.
Creative Filters
To better explain creative filters, it should be said that they work similarly to Nik effects. The advantage of Luminar creative filters is that you can apply them to RAW images without leaving the program and without having to rasterize RAW images.
Adding fog:
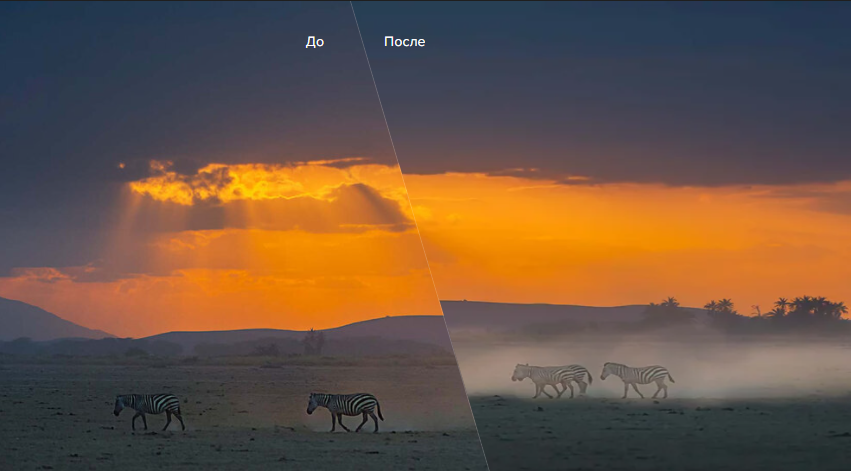
Adding the Orton effect (simultaneous sharpening and blurring):
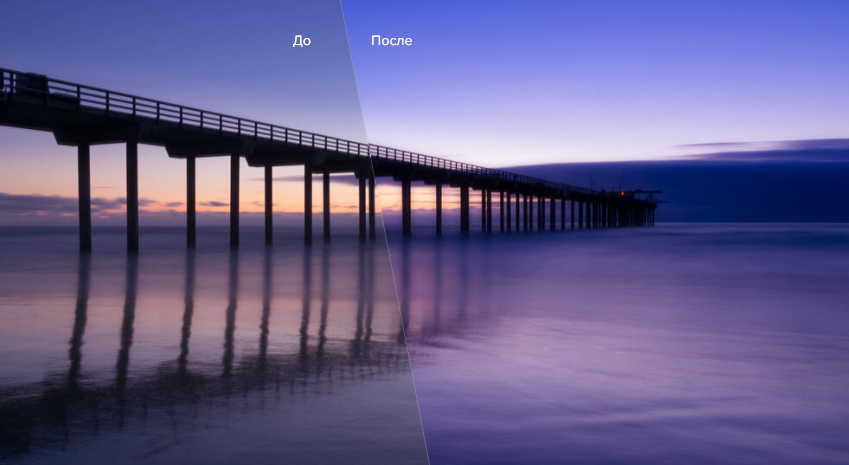
In the creative module you will find a special panel for LUT, texture mapping, film grain and so on.
Presentation
When Luminar was the only image editing program, it was lightning fast and responsive. After adding the library, the performance of the program decreased. I think Skylum underestimated the complexity of integrating the "Library" and "Editing" modules.
The performance of Luminar 4 is significantly improved compared to Luminar 3. Navigation through the Library module is fast. Switching from the Library to the Editing module is fast, and the Editing module tools are extremely responsive. There are slight delays when switching from one RAW image to another. It takes a few seconds. And then the process of rejecting images with a quick transition from one RAW photo to another becomes problematic.
I think the integration with the "Library" and "Editing" modules will improve in subsequent versions and performance will increase.
Minor performance issues were observed only on Windows. On Mac OS, such problems were not noticed.
Lack of functions in the library module
The library module is the latest addition to the program, and it's noticeable. It lacks some fundamental features, such as a search function based on image metadata, keywords, watermarks, etc. The file name is not displayed when you are in a grid view. This makes it almost impossible to find the right image.
According to the Skylum roadmap, metadata and keyword search functions will appear in early 2020.
Limited export functionality
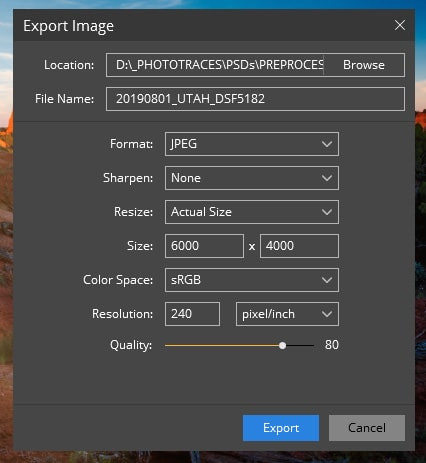
It is not possible to create presets for export. You must specify the export settings for each export.
Advantages and disadvantages
Pros
- Good value for money
- Useful editing tools
- Saves a lot of time
- Convenient and easy to use
- There are integration possibilities
Cons
- Without keyword tags
- No metadata management
- It takes time to export photos
- The Windows version is less responsive than on Mac
Luminar 4 System Requirements
Windows
- Intel® Core™ i7 7th generation or better, AMD Ryzen™ 7 2nd generation or better
- Discrete graphics processor with 4 GB of RAM.
- 16+ GB of RAM
- SSD as the main drive
- Calibrated monitor with a resolution of at least 1920×1200
Mac OS
- Intel® Core™ i7 CPU with 4+ cores or higher
- 16+ GB of RAM
- Discrete graphics processor with 4 GB of RAM.
- SSD as the main drive
Price
The cost of the full package of products Luminar is 108 $, which is about 7123 rubles (there is a trial version with a time limit of 30 days on the official website).
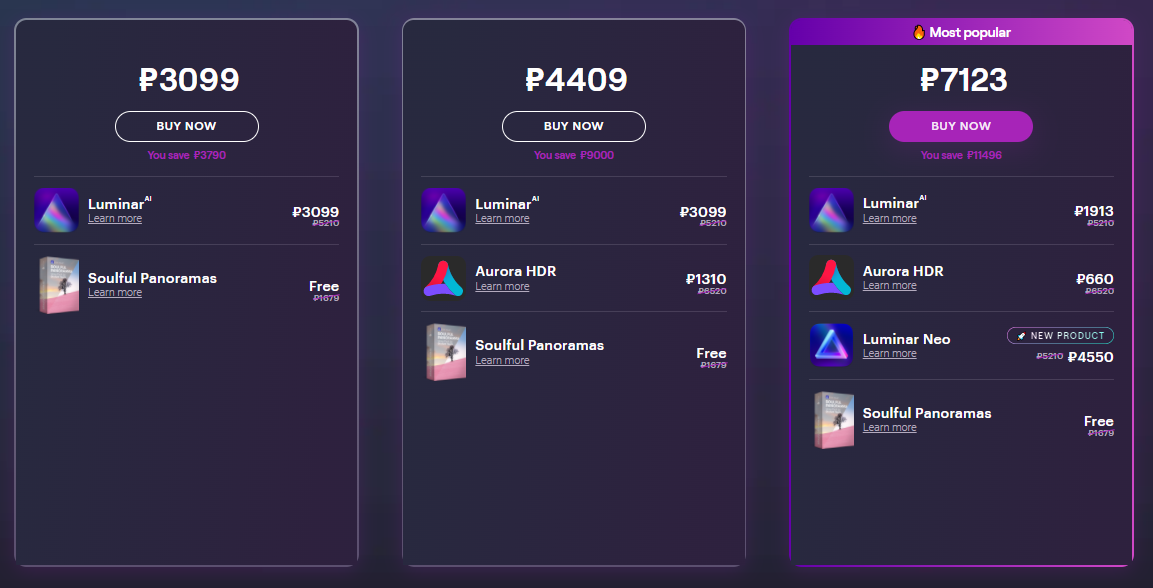
There are also frequent promotions where you can get the full version of with a discount of up to 20% . The developers separately emphasize that we are talking about a one-time payment, after which you can always use the advantages of the tool.
Conclusion
Luminar - is an excellent RAW editor , which is a good solution for beginners who want to learn how to edit photos. Taking into account the latest updates, professional photographers should also take a closer look at this product.
Many tools in Luminar work on the basis of artificial intelligence, they will save you from many routine processes, which will greatly help you simplify your work and save time. The batch processing function makes photo editing very efficient and will also be able to speed up your work.
Skylum historical commitment to continuous improvement allows us to hope that some missing features will be added in the future and minor performance issues will be fixed.
In any case, to begin with, I recommend using the 30-day money-back guarantee and downloading a copy of Luminar 4 to test it on your computer with your own photos.


